


I'm going to give you a deep dive into how you can create an email marketing campaign using drip campaigns in just 7 steps that will save you time, connect more with your customers, and build brand awareness.
Creating marketing material is daunting and we all know we need to do it, but it takes time thinking about what to write and where to start. Thats where we come in and help you get there. Once you block your time to focus an hour on email marketing, here's what you do:
01. Identify what you're wanting to accomplish
Are you needing to increase brand awareness? Do you want to stay more connected to contacts? Promote an event? Recruit agents? Maybe it's all of the above. If that's the case, you maybe need to split these up and focus on one at a time. This will help you feel less overwhelmed when it comes to your marketing.
Once you figure out what you need to spend your marketing efforts on, you can then focus on your audience.
02. Know who your audience is
This seems like an easy one, but identifying your audience is more than knowing the basics. For example, your audience could be, "First home buyers in Nashville, TN" or "All real estate agents in Austin, TX." These are great audiences, but there's more you need to pinpoint to effectively marketing to these groups of people.
You can start by knowing and understanding what their problems are and how you can help solve them. To continue with the example of the first-time home buyers, this audience might be wondering, "Is now a good time to buy a home? Is there a good time to buy and how do I know?" "What is a good interest rate and how do I know what it is?" These questions could be part of a greater problem - not knowing how to buy a home or not feeling educated on the home buying process. Once you know what your audience's problem is, write it down.
Identifying this will help you create the message you are going to deliver to them.
03. Creating the content - ask yourself: how can I help with this problem?
Start by writing out the ways you can help alleviate the audience or potential clients problem. For first-time homebuyers, maybe it's giving them information that helps alleviate the stress and confusion on the home buying process. Make a list of the ways or information you can provide that could help.
Once you have a list, you have your content for your email. You can frame it up in a simple list like the below to start:
Email #1 - "How To Know When It's a Good Time to Buy a Home"
- This email could focus on a list of 4-6 ways to help someone make the decision to buy a home or questions to ask themselves.
Email #2 - "What You Need To Know About Interest Rates & Buying A Home"
- This could be another bullet list of 5 things to know about interest rates to help educate your customers.
Email #3 - Continue to nurture the relationship by providing other helpful information.
- For example, you can give them a success story. Provide a short story about someone you helped likely in a similar situation that ended with an outcome your audience is looking for.
Email #4 - Now you can sell it to them! "How to Find the Right Agent"
- This is the email that will say, "Hey it's me Joe! I can help you find your perfect home! I can answer your questions and walk you through this exciting, confusing, and sometimes daunting experience."
- This email should clearly outline how to set up an appointment with you or a direct link to email you to talk more.
Your list of solutions is your guide to writing your marketing material. You want to deliver your audience with information they care about, that addresses their needs, and act as their guide to help solve their problem. As a result, you empower them and become a trusted business.
04. Create your templates in rezora
Now the easy part! Hop into your rezora account and create those email templates you outlined above. Keep these things in mind as you build your marketing pieces:
- Include a captivating and relevant subject line with minimal exclamation marks and no spammy words such as, "READ ME!!!!!!!!!!"
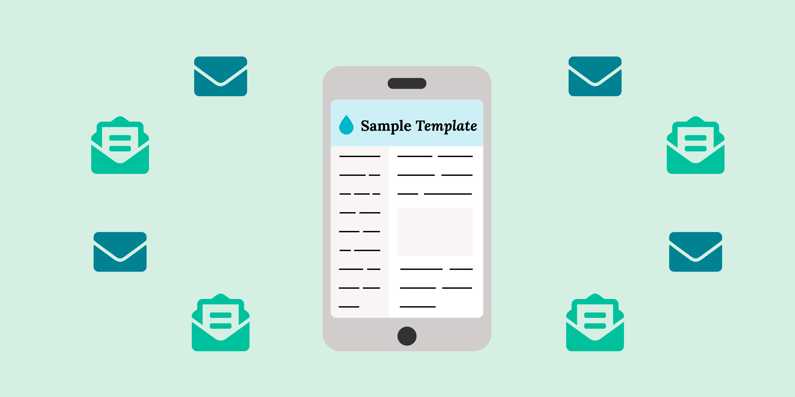
- Create and edit your emails in mobile view. (Remember, everyone is reading email on mobile these days!)
- Keep the information minimal but direct and clear. No paragraphs of text. Break things out into lists/steps for them to digest better and try to stick to one column of content.
- Include your "Call to Action" and make it obvious in every single email. This can be a button guiding them to call, email, or text you.
- Make sure each template is branded very similarly in style and layout. This instills brand consistency making it easy for your audience to identify your emails and you. Plus, it saves you time redesigning multiple emails.
- Remember to include your footer with your information and your headshot.
Once your templates are created, check that you meet the rezora template requirements to ensure they appear when adding them to your drip campaign.
05. Create the Drip Campaign
Now you can create the drip campaign in your account, give it a name, and add the templates you created in the order you would like.
Next you will edit your campaign by adding steps to create the journey for your contacts. This includes adding the templates in the order you would like, the wait time till each email is sent to the contacts and the option to set up notifications and branch off your contacts.
Here's a helpful link that touches on each of the steps you can add as you build the campaign in rezora - Drip Campaign Steps.
Tip: Depending on who your audience is and what message you are delivering, will depend on the time you select to wait in between each email. You can start out with a one week wait time between each email, then see if you feel like that is too much or you can extend to two weeks to once per month. It's up to you how often you want to send your emails out and how long you want the drip campaign to be.
06. Add your contacts and activate!
One you've set up your drip campaign with your templates and timing you can activate it to send out. You will see the analytics of your campaign in your rezora account to see who is opening your emails and interacting with them.
Once all the contacts have received each email in your drip campaign, you can segment the list of contacts that opened and clicked in your email and those that did not. You can use this to add them to different campaigns that may suit them more and reach out less often.
07. Use the templates to create the next campaigns
Once your campaign is created, you can easily use this as a starting point for future drip campaigns. You can copy this one you created to build and edit another or use the templates but modify for a different audience.
You can even send to the same audience but adjust your information. Everyone processes information differently so try changing your layout and information to see if you can engage any one that didn't previously interact.
I hope these steps help you create more meaningful marketing material and saves you time when building your next email campaign!
As always, if you need a hand editing your drip campaign, reach out to our team and they can help at support@rezora.com.
